Most small businesses rely on forms on their website or landing pages to gather leads. But here’s what usually happens:
- Someone fills out the form.
- You get an email notification.
- You manually add the lead to your CRM (like Zoho, Vtiger, or HubSpot).
- You try to figure out where they came from—Facebook? Google Ads? Referral?
This process is not only slow—it’s risky. Leads can fall through the cracks, and without knowing their source, it’s hard to measure what’s actually working.
Agitate: What This Costs You
Manual lead capture has a hidden cost. Every delay means:
- Lower chance of converting the lead
- Lost insight into campaign performance
- More time spent on admin, not strategy
- Higher risk of double entry or errors
And without UTM parameters, you miss the opportunity to learn which campaigns, ads, or platforms are driving the best results.
Imagine spending money on ads—only to find out weeks later they weren’t converting, all because your tracking wasn’t set up.

Solve: Automate the Entire Flow with UTM Tracking
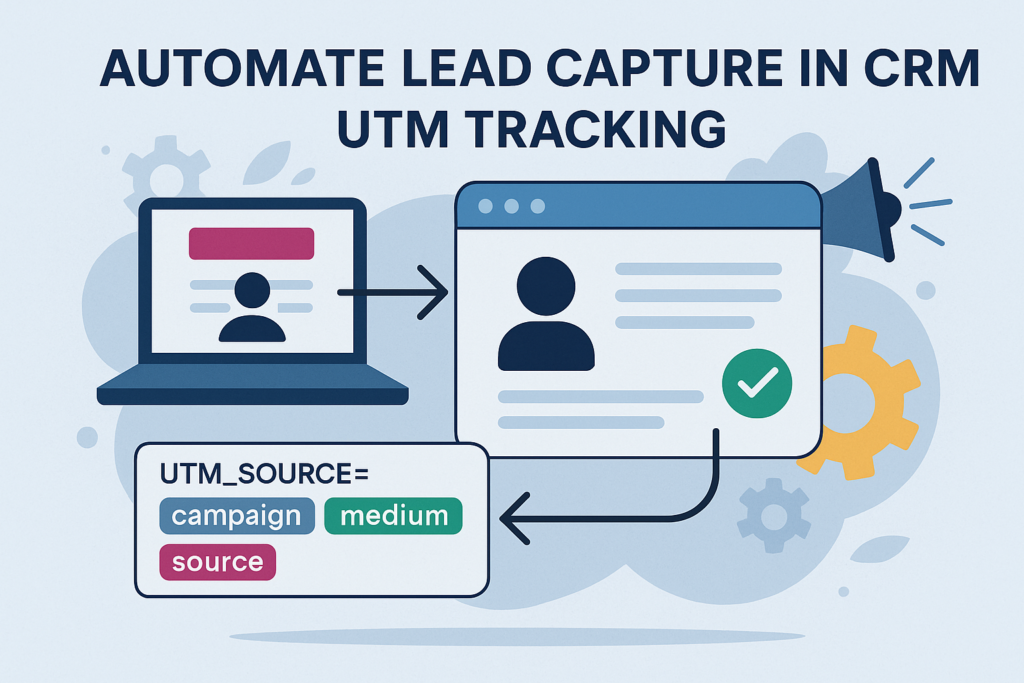
Here’s how you can set up a fully automated lead capture system with UTM tracking
using tools like Zapier, Make, or N8N, connected to CRMs like Zoho, HubSpot, GoHighlevel, Keap, or Vtiger.
Step 1: Use a Form Builder That Captures UTM Parameters
Choose a form builder that lets you collect UTM values (Google Forms, Typeform, Tally, or your website form with hidden fields).
✔️ UTM_Source
✔️ UTM_Medium
✔️ UTM_Campaign
✔️ UTM_Term (optional)
✔️ UTM_Content (optional)
Make sure these fields are populated automatically via the page URL when someone visits your site through a campaign.
Step 2: Connect Your Form to Automation Tool
Using Zapier or Make:
- Set a trigger when a new form is submitted
- Grab the form fields + UTM parameters
- Create a new lead/contact in your CRM
- Add UTM values to custom fields in the CRM
- (Optional) Send a thank-you email or assign a sales rep
This workflow ensures leads are captured instantly and tagged with their exact source—without anyone lifting a finger.
Step 3: View and Use the Data Inside Your CRM
Once the lead lands in your CRM:
- You can segment leads by source
- Track which campaigns bring the highest conversions
- Customize follow-up sequences based on UTM info (e.g., different welcome emails for Facebook leads vs Google)
Use Case: Online Course Business
Let’s say you’re running Facebook and Google Ads for your course. A lead clicks the ad, visits your landing page, and fills the form. Automation captures their:
- Name, email, phone
- UTM_Source = Facebook
- UTM_Campaign = SummerLaunch
In seconds, they appear in your CRM, a welcome email is sent, and your dashboard logs one more lead from Facebook.
No manual work. Just results.
Common Mistakes to Avoid
- Forgetting to map UTM fields to your CRM
- Not using hidden fields to capture UTMs
- Using tools that don’t support field-level integrations
- Not testing the full flow before going live
Conclusion: Build Smarter, Not Harder
Lead capture should be instant, reliable, and informative. With automation, you don’t just save time—you gain visibility into what’s working.
Start with one form, set up one flow, and scale from there.
Need help setting up UTM-powered lead capture? We can help you automate your business with the right tools and strategy.
